
Getting Started with WooCommerce
Overview
This guide walks you through installing the KOMOJU Payments plugin, connecting it to your KOMOJU account, enabling payment methods at checkout, and running a test payment before going live.
Prerequisites
- A KOMOJU account — sign up here if you don't have one yet
- Live Mode activated on your KOMOJU account
- Admin access to your WordPress / WooCommerce store
- Basic familiarity with the WooCommerce settings area
This guide assumes your Live Mode application is already approved. If your application is still pending or you haven’t applied yet, complete that process first before following this integration guide. See How to Apply for Live Mode (Commercial Use) for more information
Understanding the WooCommerce-KOMOJU Integration
KOMOJU for WooCommerce uses a single plugin that handles all payment methods. Unlike some integrations that require a separate app per payment method, you install KOMOJU Payments once and then choose which payment methods to enable from within the plugin settings.
Here's how a payment works end-to-end:
- A customer reaches the checkout page on your WooCommerce store
- The payment methods you've enabled appear as options
- The customer selects a method and is directed to KOMOJU's hosted payment page to complete the transaction
- KOMOJU processes the payment and notifies WooCommerce via webhook
- The WooCommerce order status updates automatically
KOMOJU supports local payment methods across Japan, South Korea, China, Southeast Asia, and Europe — including convenience store payments (konbini), PayPay, Alipay, GrabPay, and credit/debit cards. Each method you enable appears as a separate option at checkout.
Installing the Plugin
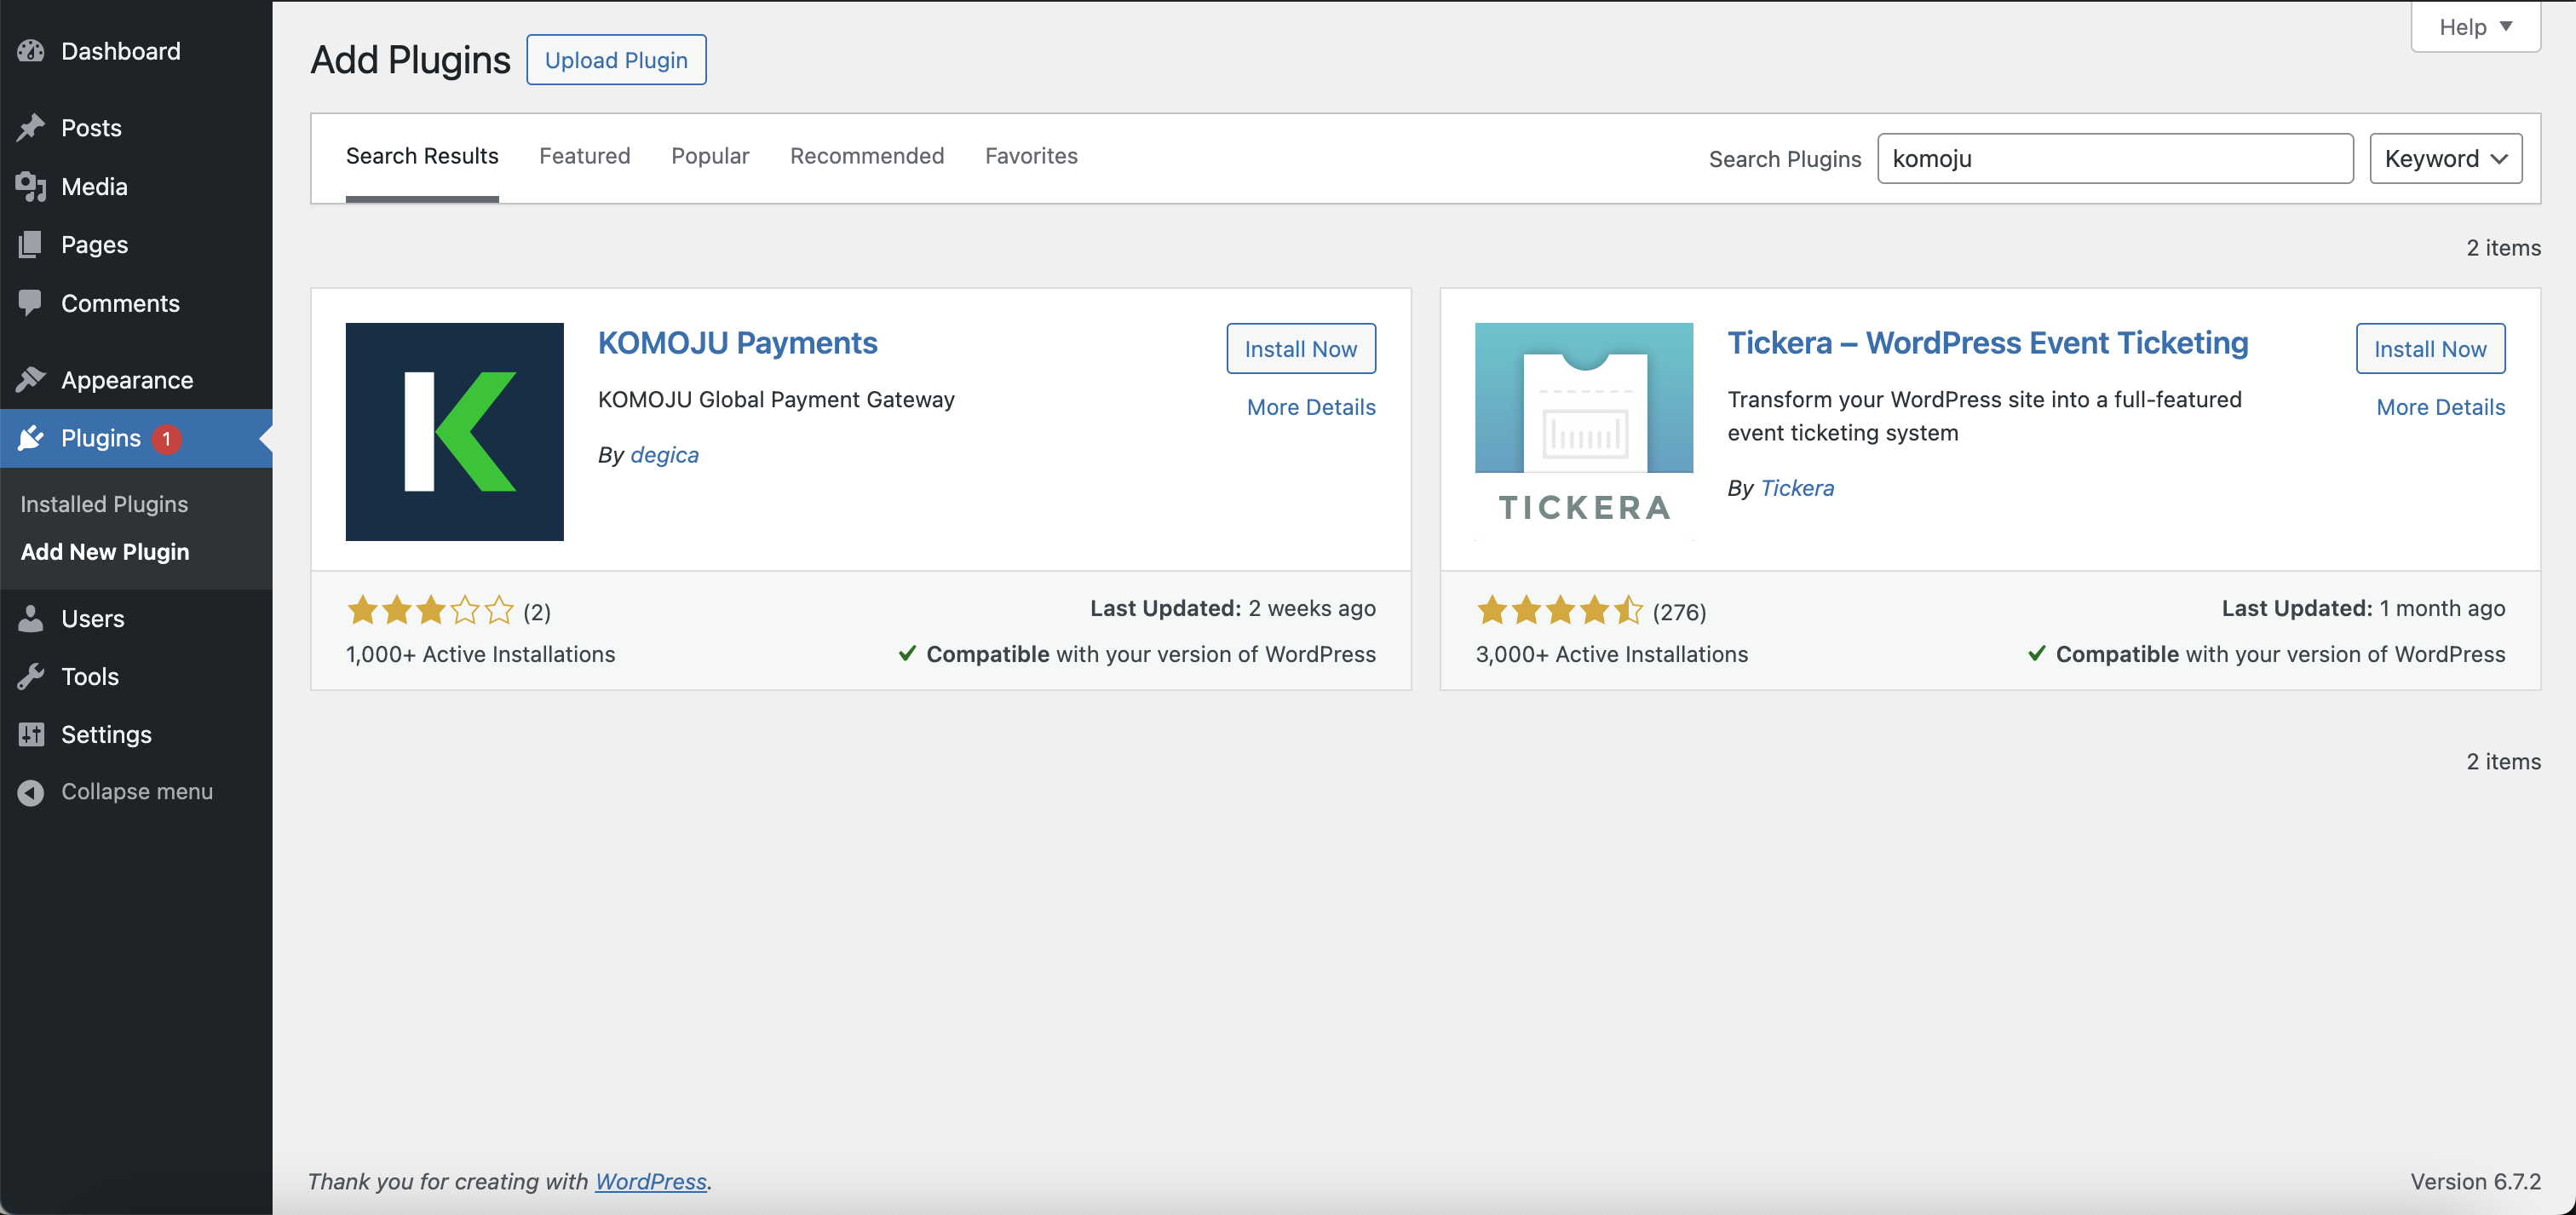
Step 1: Search for KOMOJU Payments in WordPress
- Log in to your WordPress admin dashboard
- Navigate to Plugins → Add Plugin
- In the search field, type KOMOJU
- Locate KOMOJU Payments in the results and click Install Now
Step 2: Activate the Plugin
Once installation completes, the button changes to Activate — click it.
To confirm the plugin installed correctly, go to Plugins and check that KOMOJU Payments appears in the list with a Deactivate link visible.
Connecting Your KOMOJU Account
Rather than manually entering API keys, KOMOJU uses an OAuth-style sign-in flow that automatically configures your secret key and webhooks.
Step 1: Open the KOMOJU Settings Tab
From your WordPress admin, navigate to WooCommerce → Settings → KOMOJU.
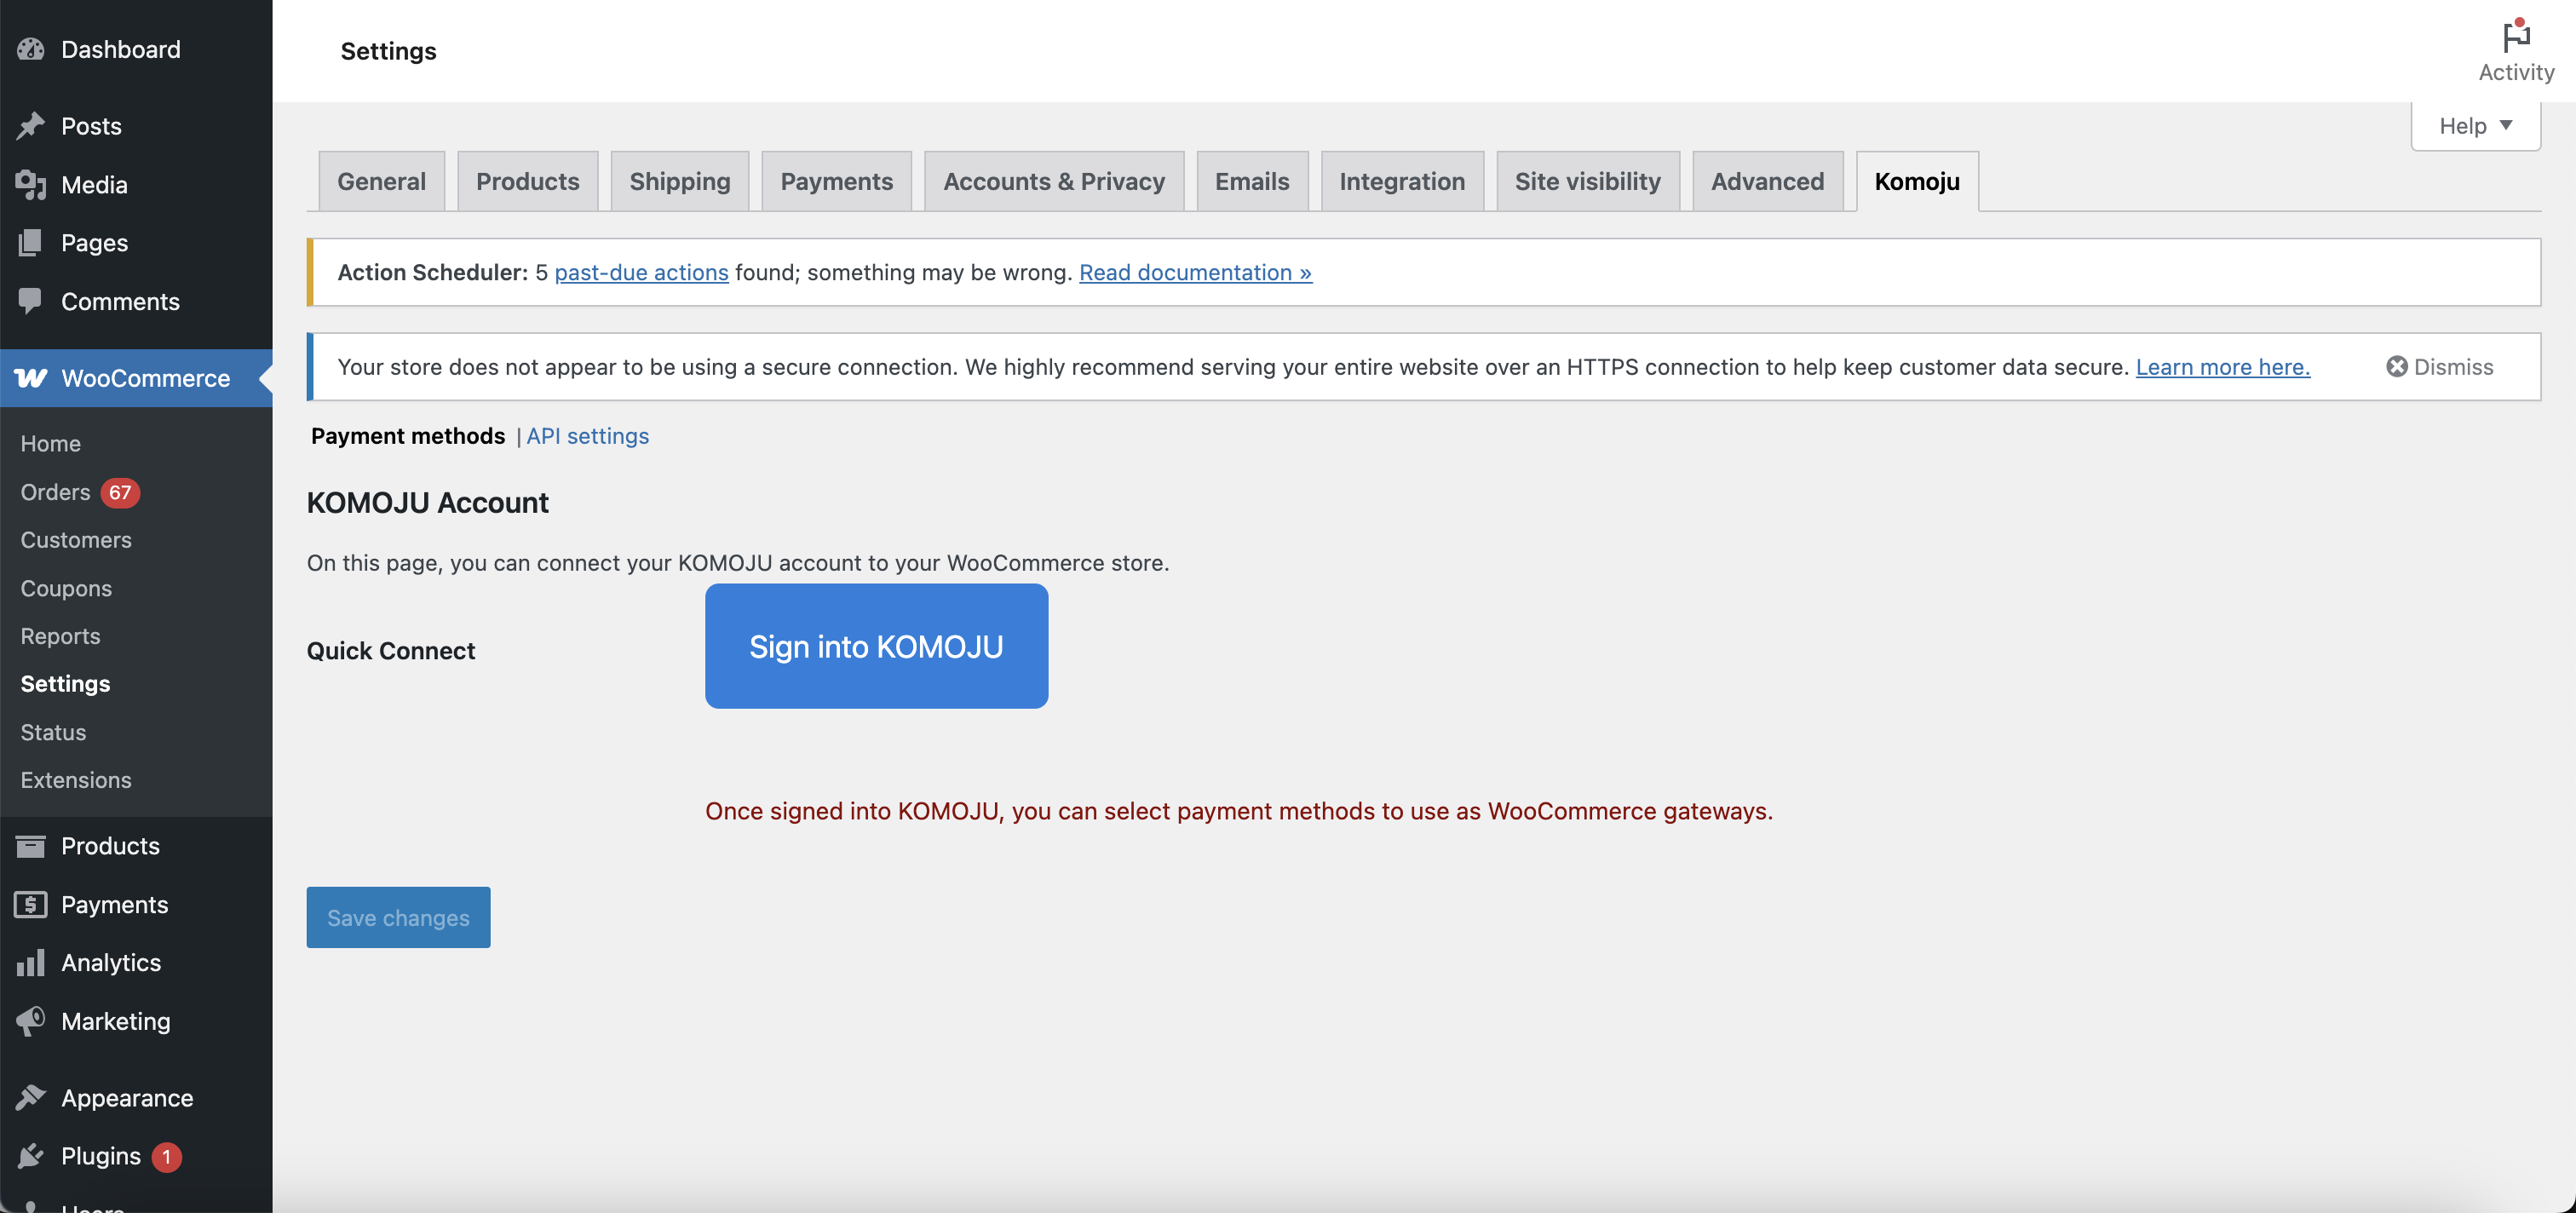
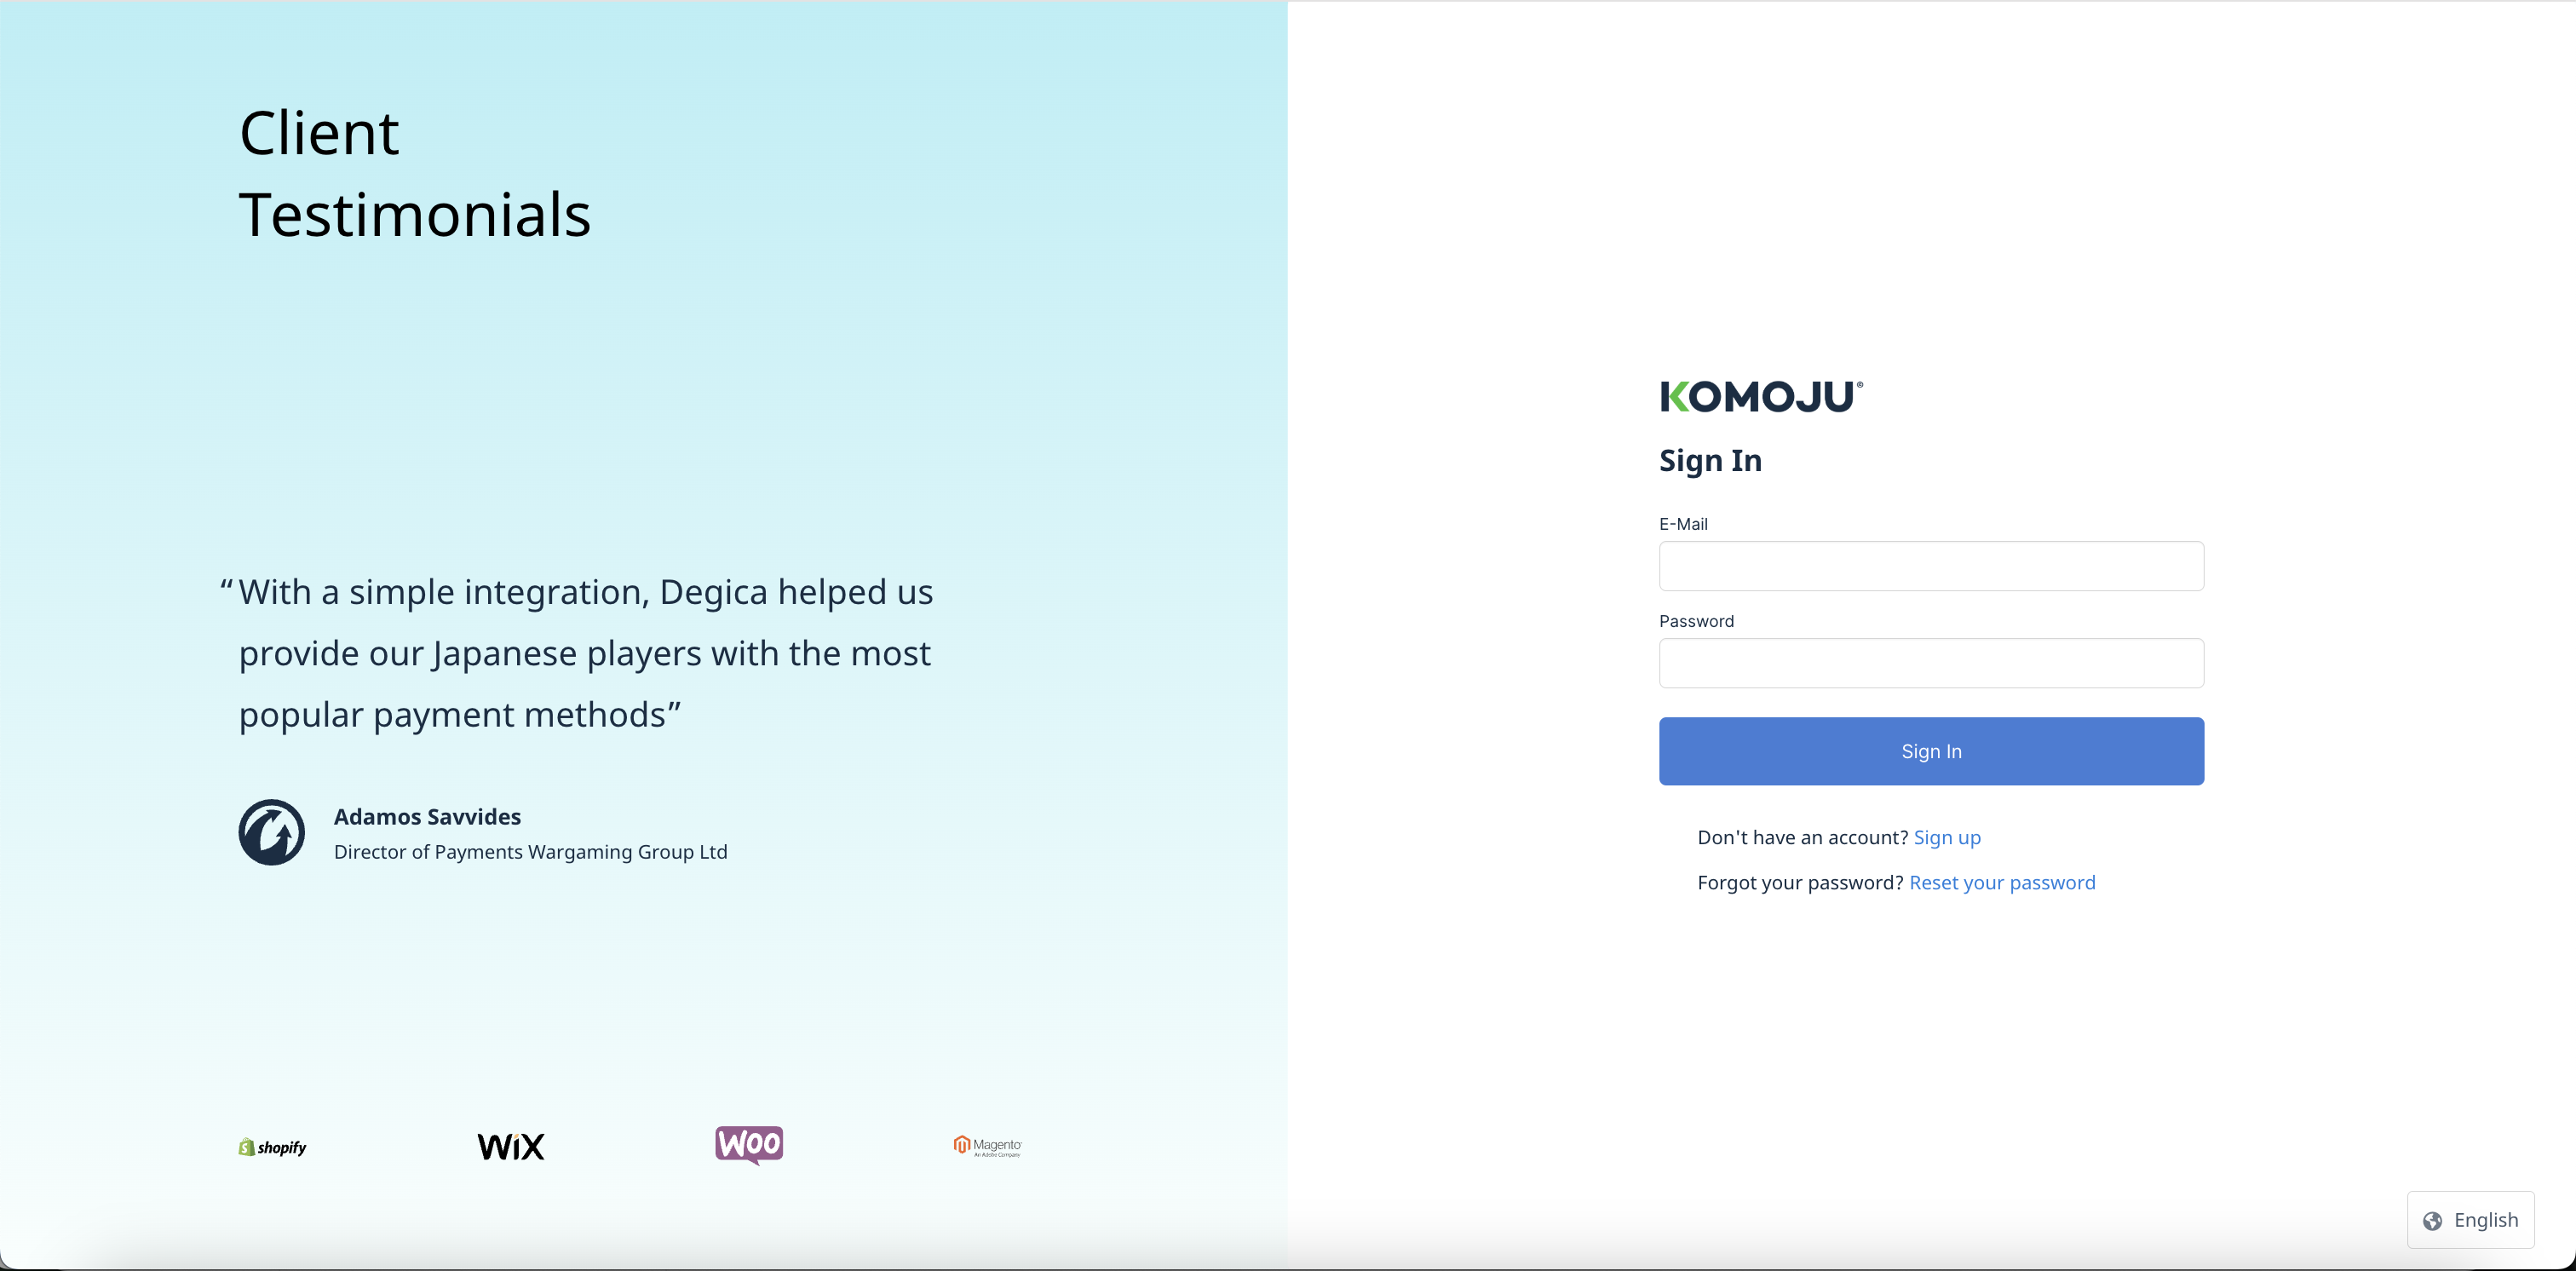
Step 2: Sign In to KOMOJU
Click Sign into KOMOJU. You'll be redirected to the KOMOJU login page.
Step 3: Select Your Account and Mode
After logging in, you'll see your KOMOJU account(s) listed. Select the account you want to connect and choose a mode:
- Test Mode — for testing payments without processing real transactions
- Live Mode — for accepting real customer payments (requires prior approval)
Live Mode will only be selectable if your KOMOJU account has been approved. If it appears greyed out, your application is still under review.
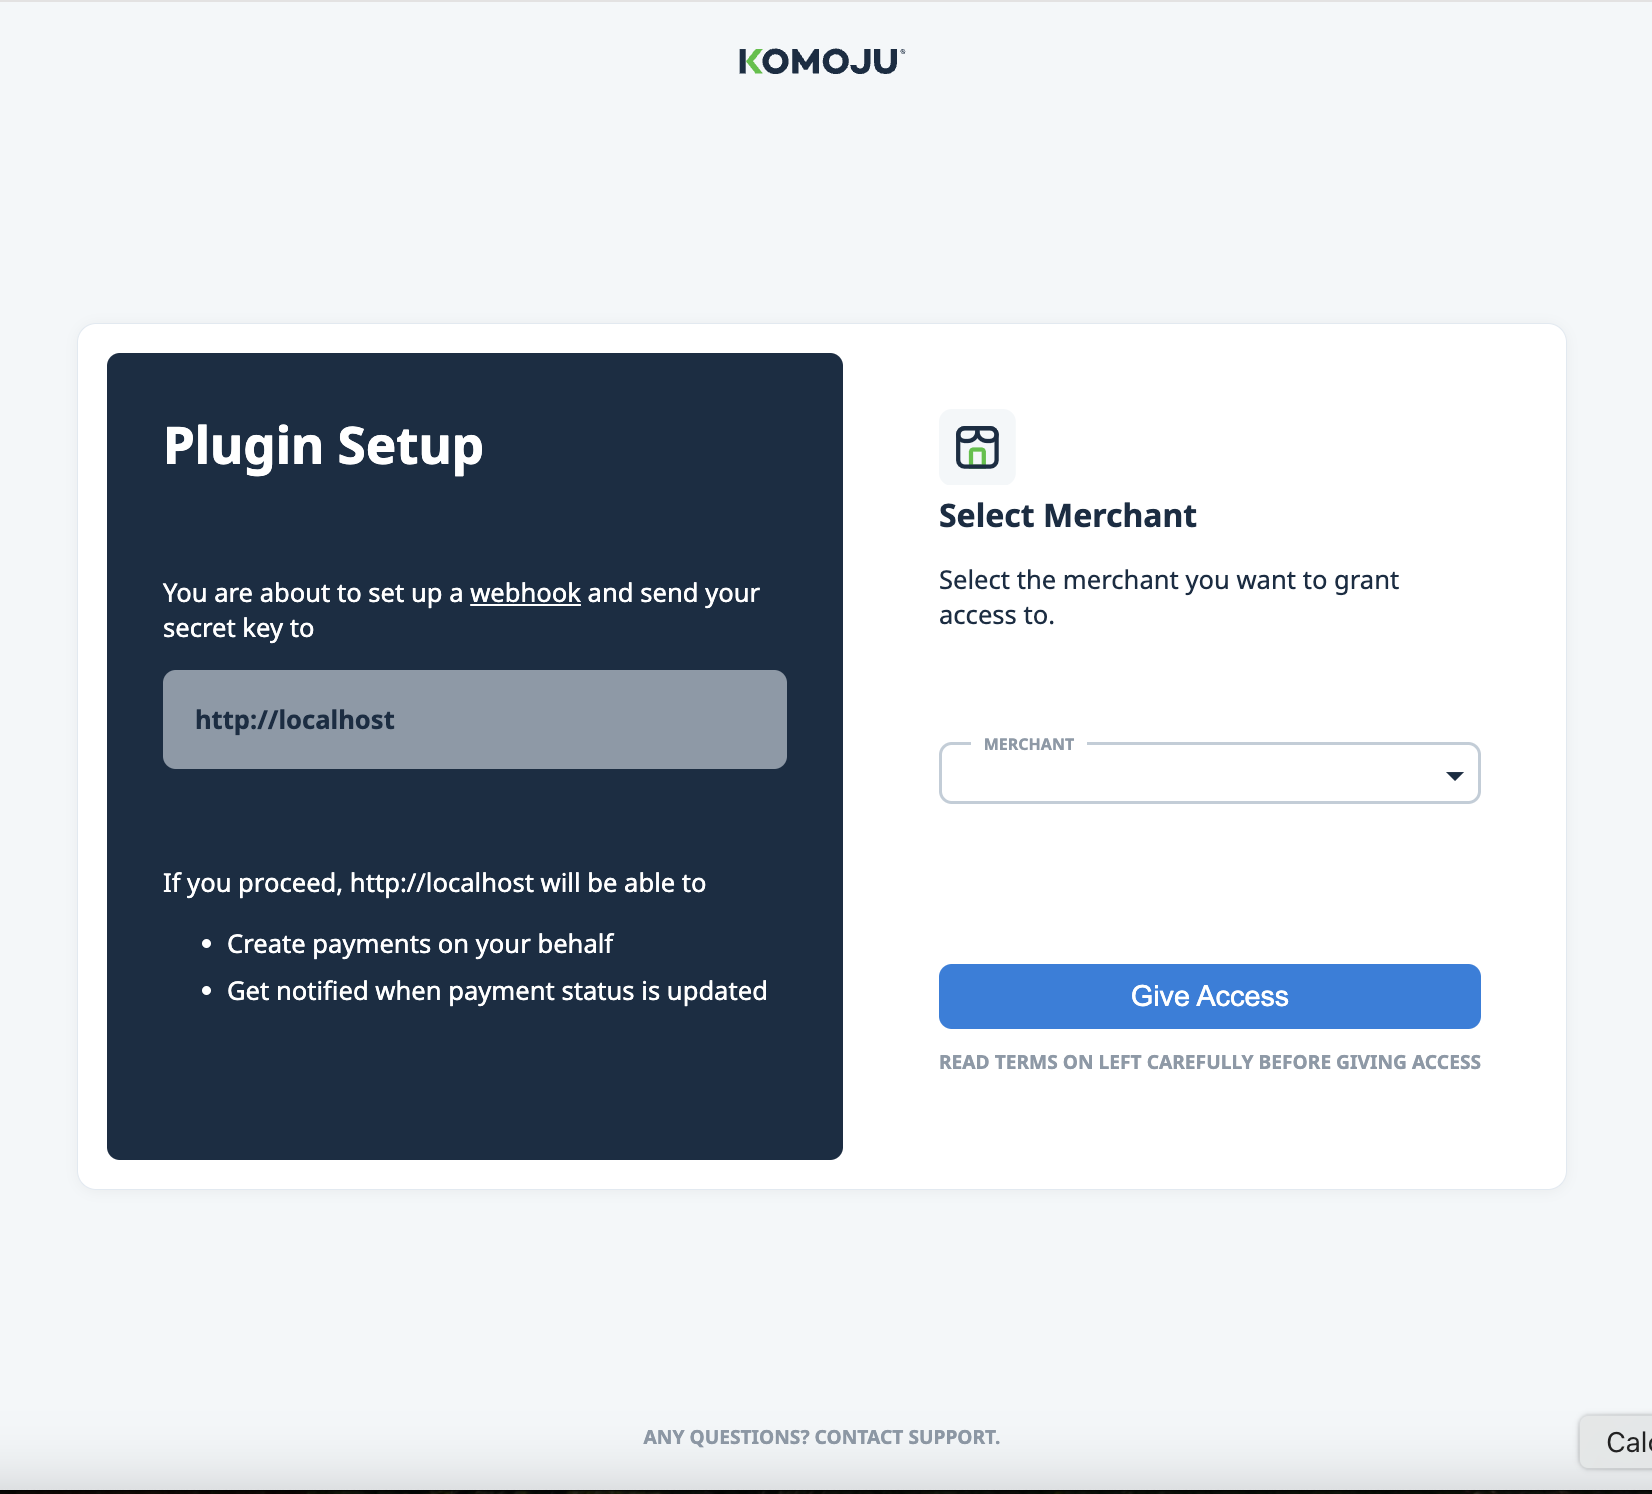
Step 4: Confirm the Connection
You'll be redirected back to WooCommerce. If the connection was successful, your available payment methods will appear in the KOMOJU settings tab.
Enabling Payment Methods
Seeing payment methods in the KOMOJU tab is not enough — you also need to activate them in WooCommerce's payments settings so they appear at checkout.
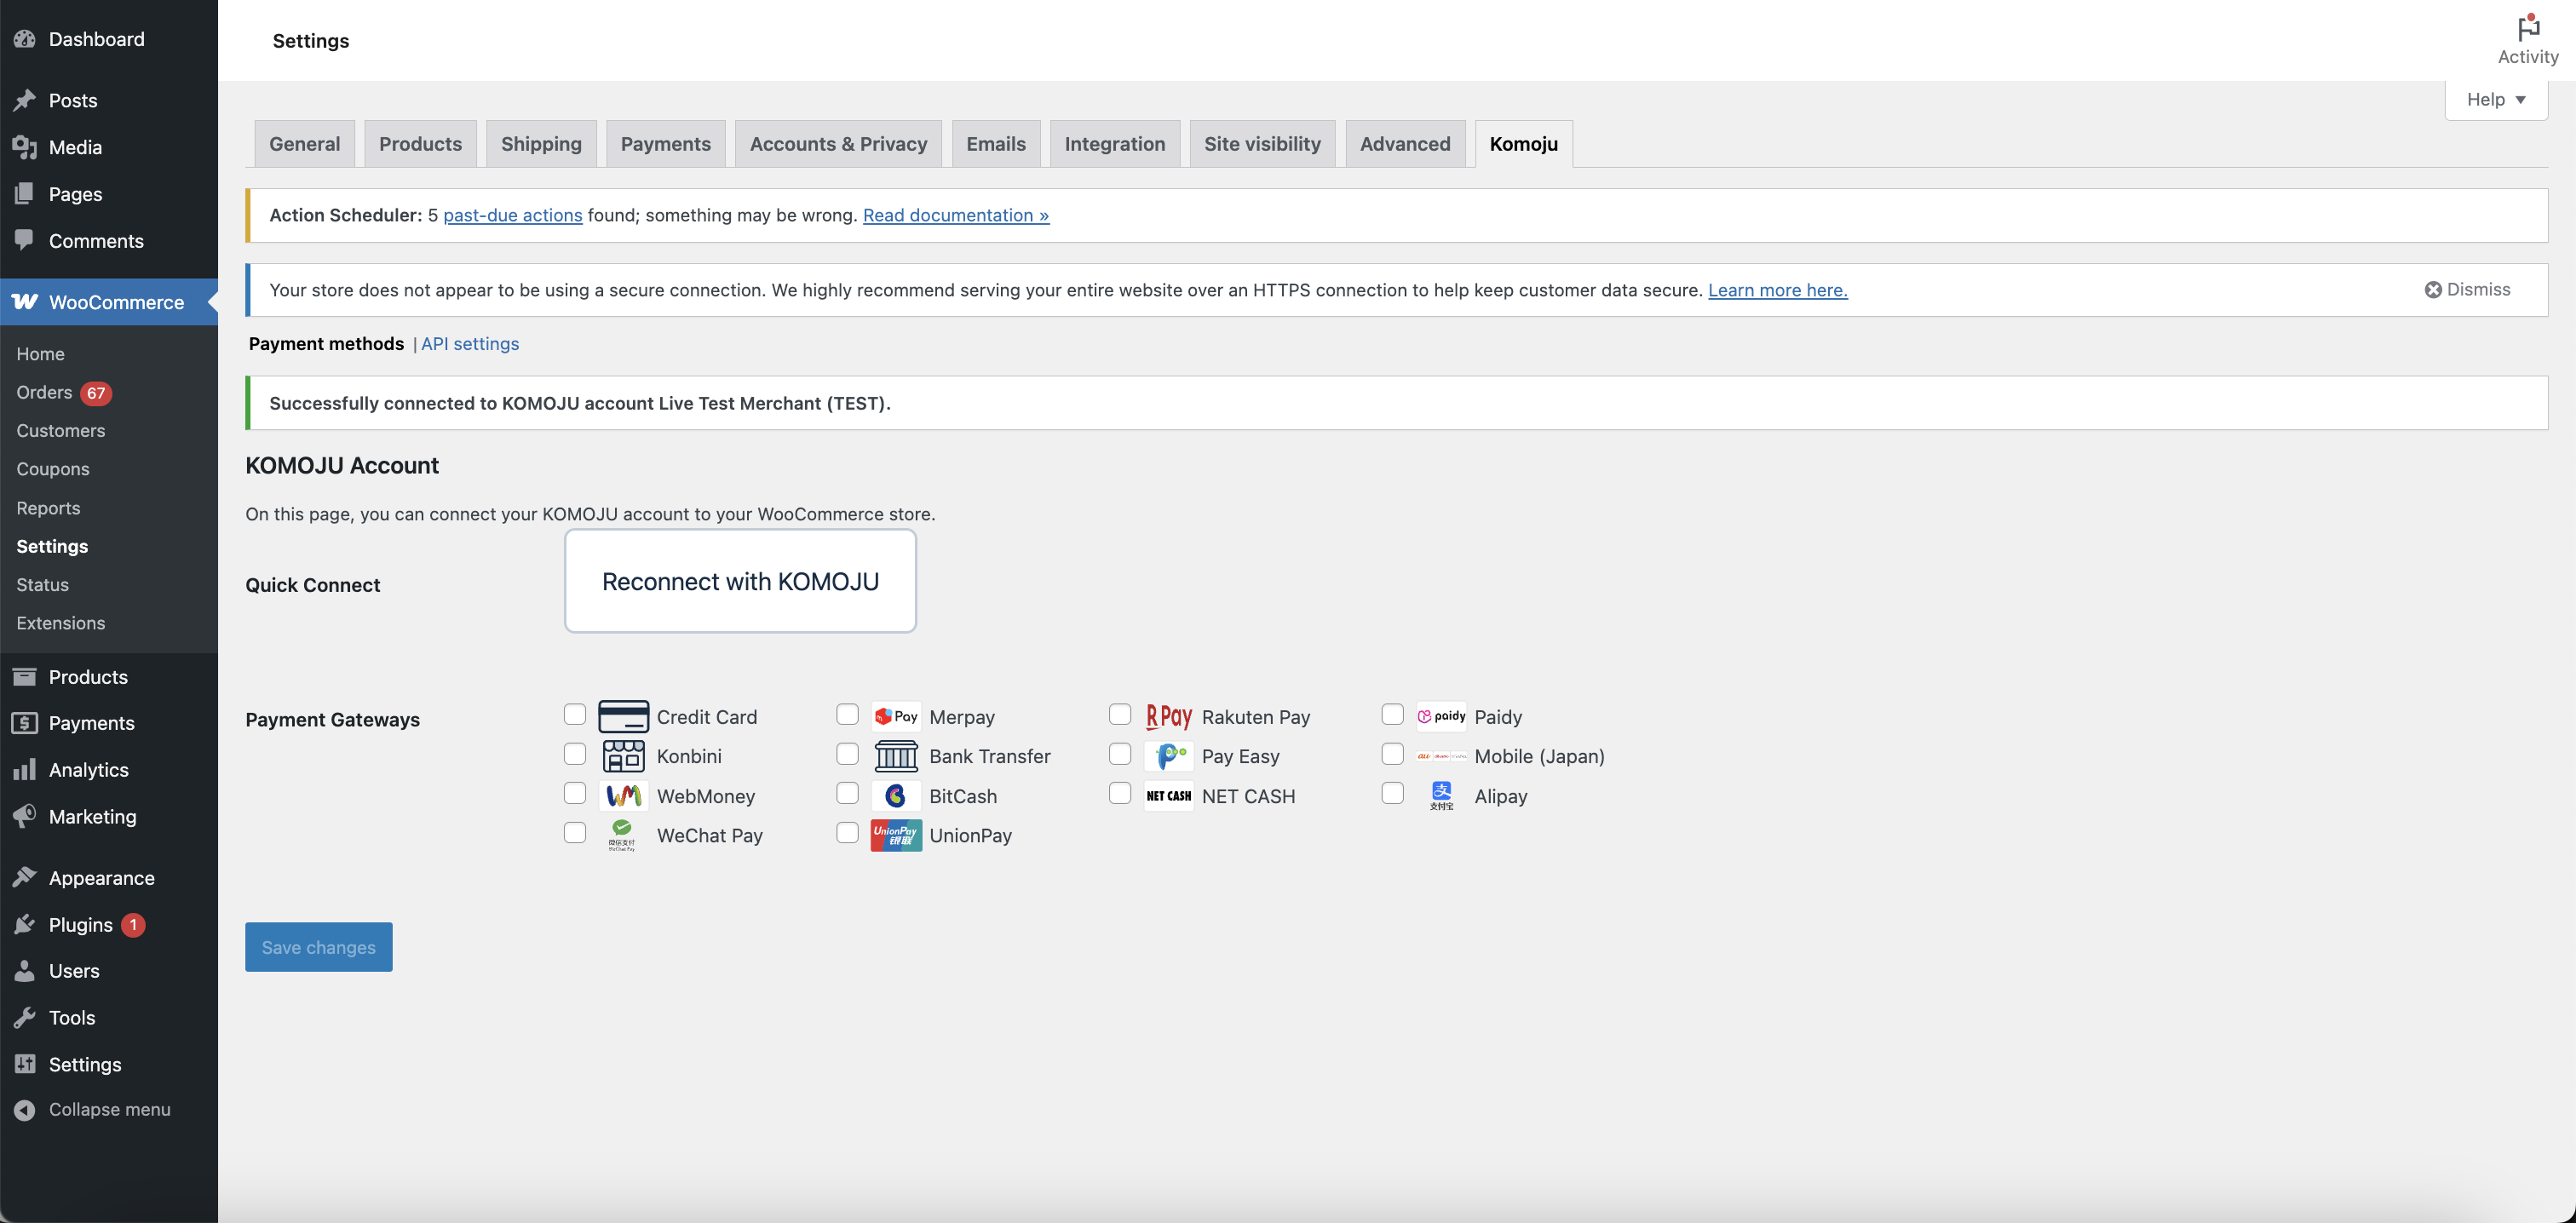
Step 1: Select Payment Methods in the KOMOJU Tab
In WooCommerce → Settings → KOMOJU, check the box next to each payment method you want to offer, then click Save Changes.
Step 2: Enable Them in WooCommerce Payments
Navigate to WooCommerce → Settings → Payments. You'll see each selected payment method listed as KOMOJU – [Payment Method Name].
Toggle each method On and click Save Changes at the bottom of the page.

The KOMOJU tab controls which payment methods are available to configure. The Payments tab controls which ones are actually shown to customers at checkout. Both steps are required.
Also please note that the Payments page may look different based on the version of WooCommerce you are using. For newer versions, the toggles have been replaced with buttons.
Please be sure to enable each payment method individually. There is a legacy Komoju payment method that has been deprecated, and should no longer be used.
Testing Your Integration
Before going live, run a test payment to verify the full flow works correctly.
Step 1: Connect in Test Mode
If you selected Test Mode when connecting your account (Step 3 above), your store is already in test mode. If you connected in Live Mode and want to test, return to WooCommerce → Settings → KOMOJU and sign in again selecting Test Mode.
Step 2: Place a Test Order
Open your store's checkout as a customer would and complete a payment using one of your enabled methods. KOMOJU has dummy pages available for most payment methods to simulate making a payment.
For testing credit cards, please review the following page for sample test card numbers Test Inputs
Step 3: Verify in Both Dashboards
After completing the test payment, confirm it appears in:
- WooCommerce → Orders — the order should show with an updated status
- KOMOJU Dashboard → Payments — the payment should be listed with a completed or authorized status
Make sure you switch back to Live Mode before your store goes live. There is no visual indicator on the checkout page telling customers they are in test mode.
Going Live
When you're ready to accept real payments:
- Go to WooCommerce → Settings → KOMOJU
- Click Reconnect with KOMOJU
- Select your account and choose Live Mode
- Save and confirm the connection
No additional approval steps are needed at this point — as long as your Live Mode application was already approved, you're ready to go.
What You Learned
- Installed and activated the KOMOJU Payments plugin
- Connected your KOMOJU account using the sign-in flow
- Enabled payment methods in both the KOMOJU tab and WooCommerce Payments settings
- Enabled test mode and ran test payments to verify your integration
- Went live by enabling live mode to accept real customer payments
Updated 5 months ago