
Initiating payments on Terminal
This guide describes how to initiate payments on terminal manually, without using our API.
Terminal Main screen
When the terminal application is launched, the terminal will show the following screen. This gives the user the ability to take a sale, or to manage transactions. Depending on the functionalities of the terminal, additional functions such as pre-authorizations will be shown.
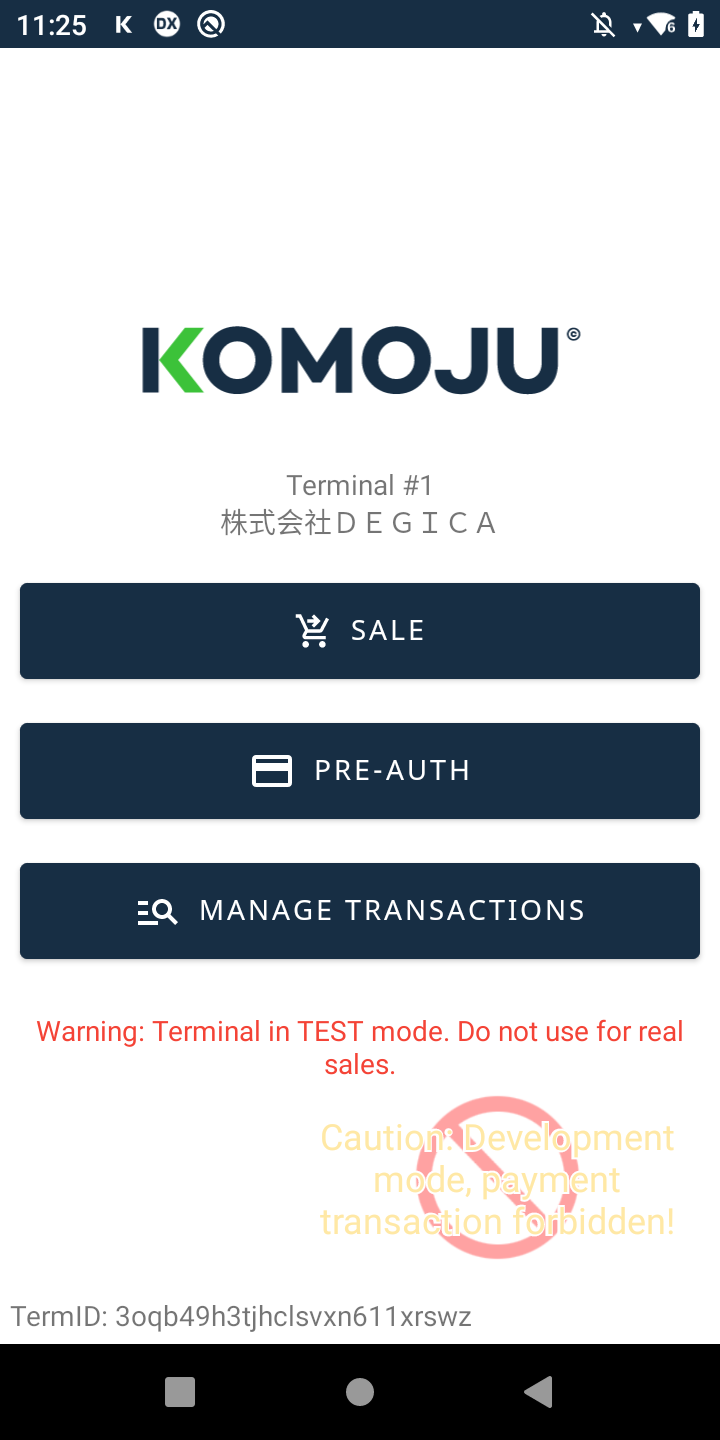
Terminal Main Screen
Enter payment amount
To take a sale, the merchant will be requested to input the amount of the transaction. Currently, only transactions in JPY are supported.
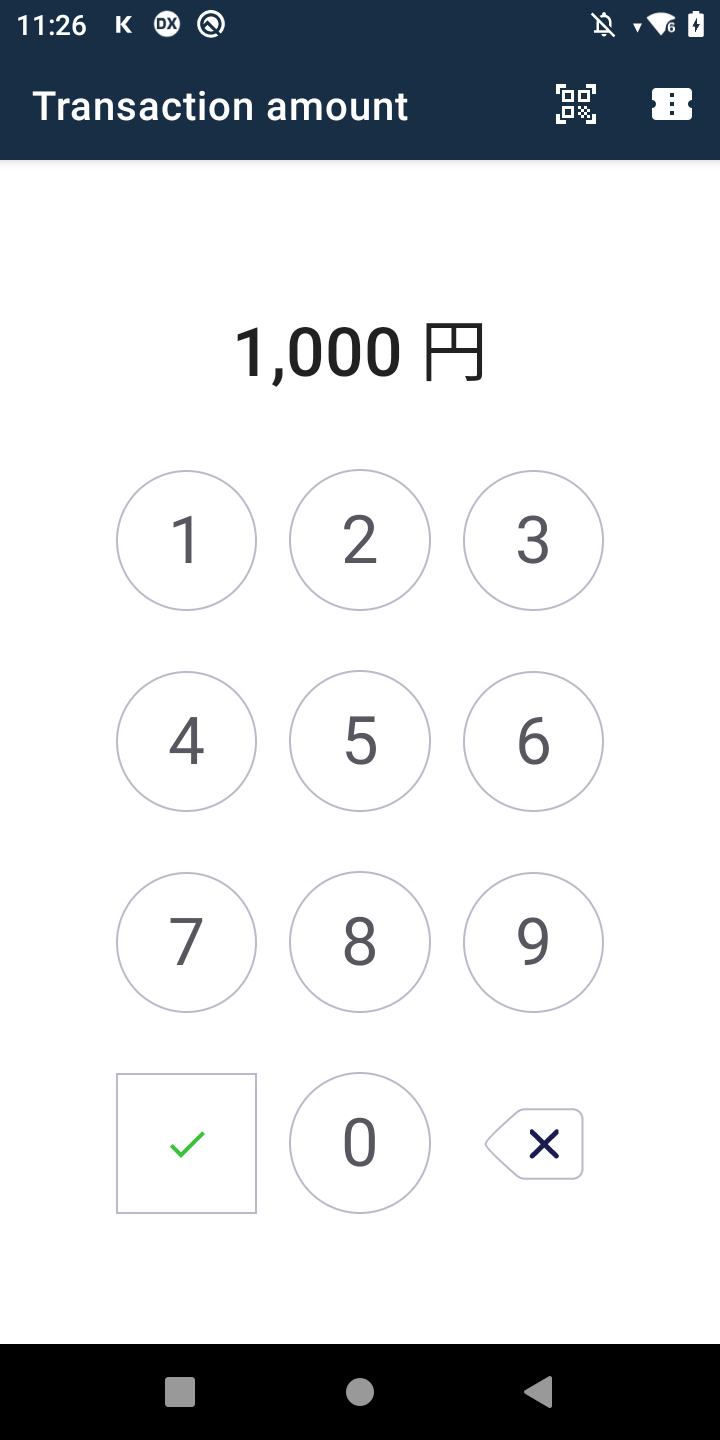
Enter payment amount screen
Select / confirm payment method
The merchant / consumer will be prompted to confirm the transaction details, and select the payment method. In the example below, only credit card is enabled as a payment method.
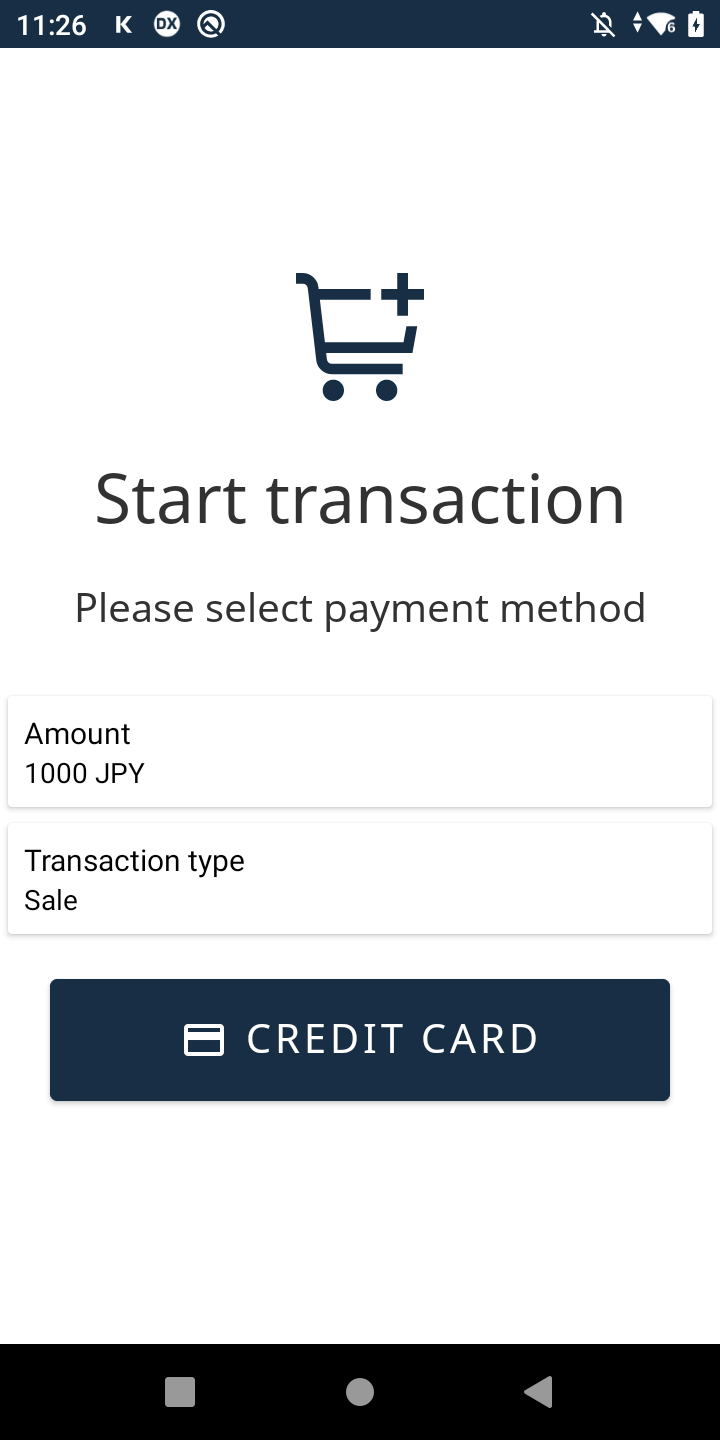
Payment method confirmation screen
Proceed with payment
In the next screen, the consumer will be prompted to either tap or insert their card. The supported card schemes are displayed as well for purpose of brand recognition.
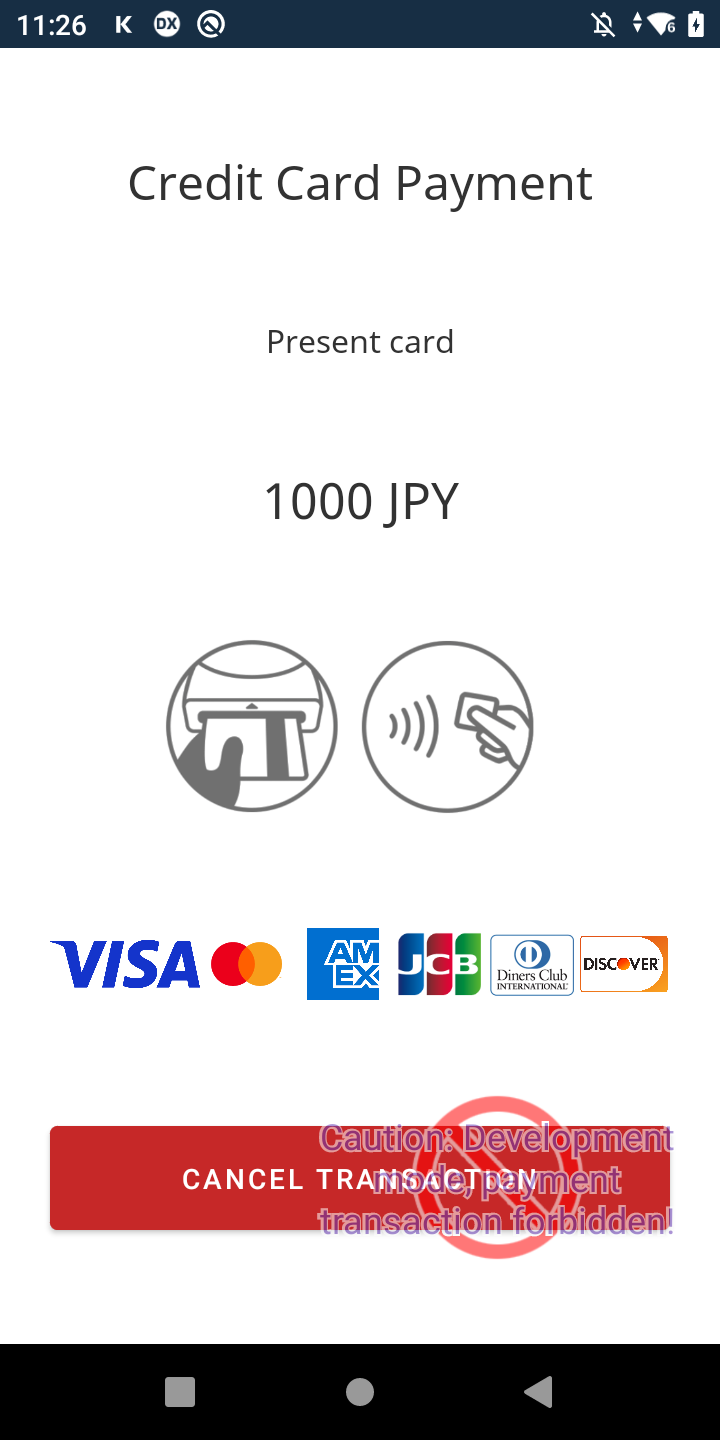
Payment processing screen
Transaction completion
If the payment was completed, the following screen appears. Depending on the configuration of the terminal, the merchant may print the receipt, or send a digital receipt to the email address of the consumer.
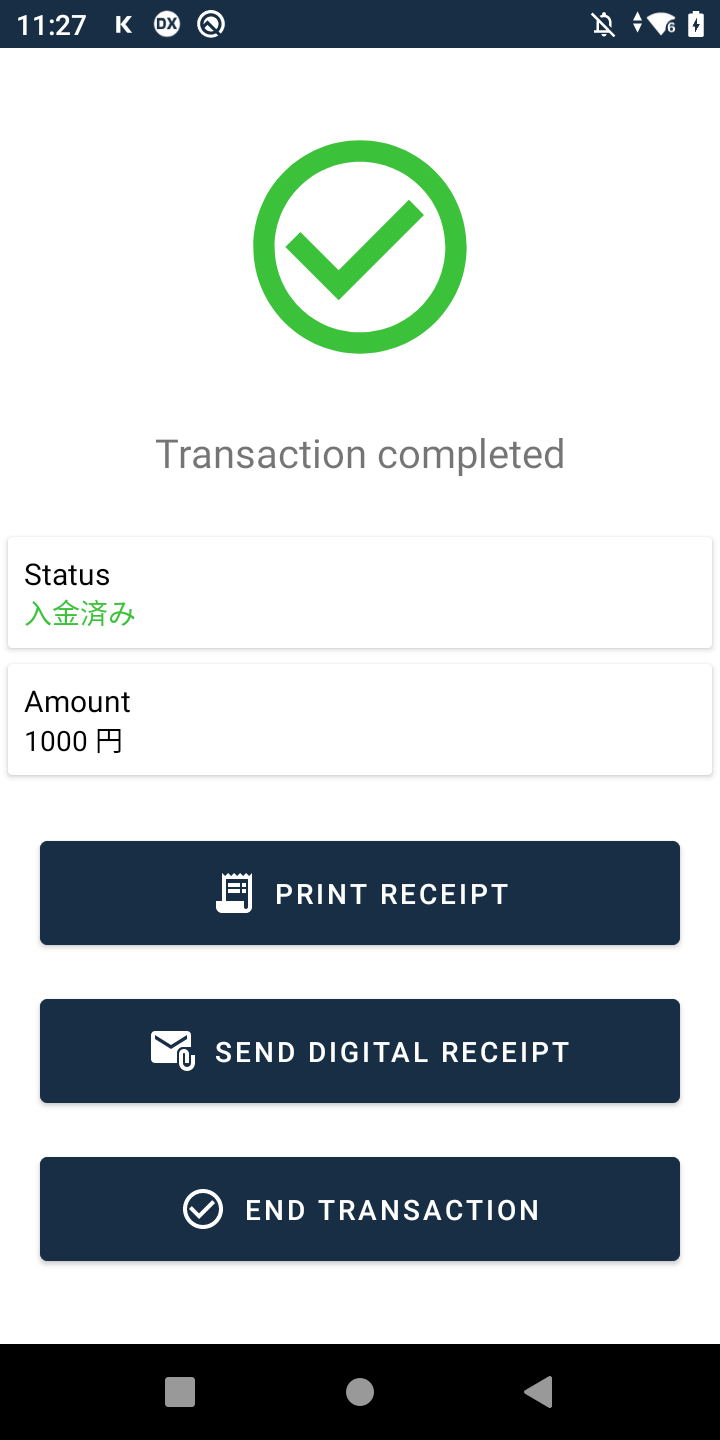

Transaction completion screen
Transaction failure
If the transaction has failed, an error will appear on the screen. This error could include useful information about the decline, such as "Insufficient Balance" or "Limit exceeded". The merchant can retry the transaction if needed, or terminate the session by cancelling the transaction.
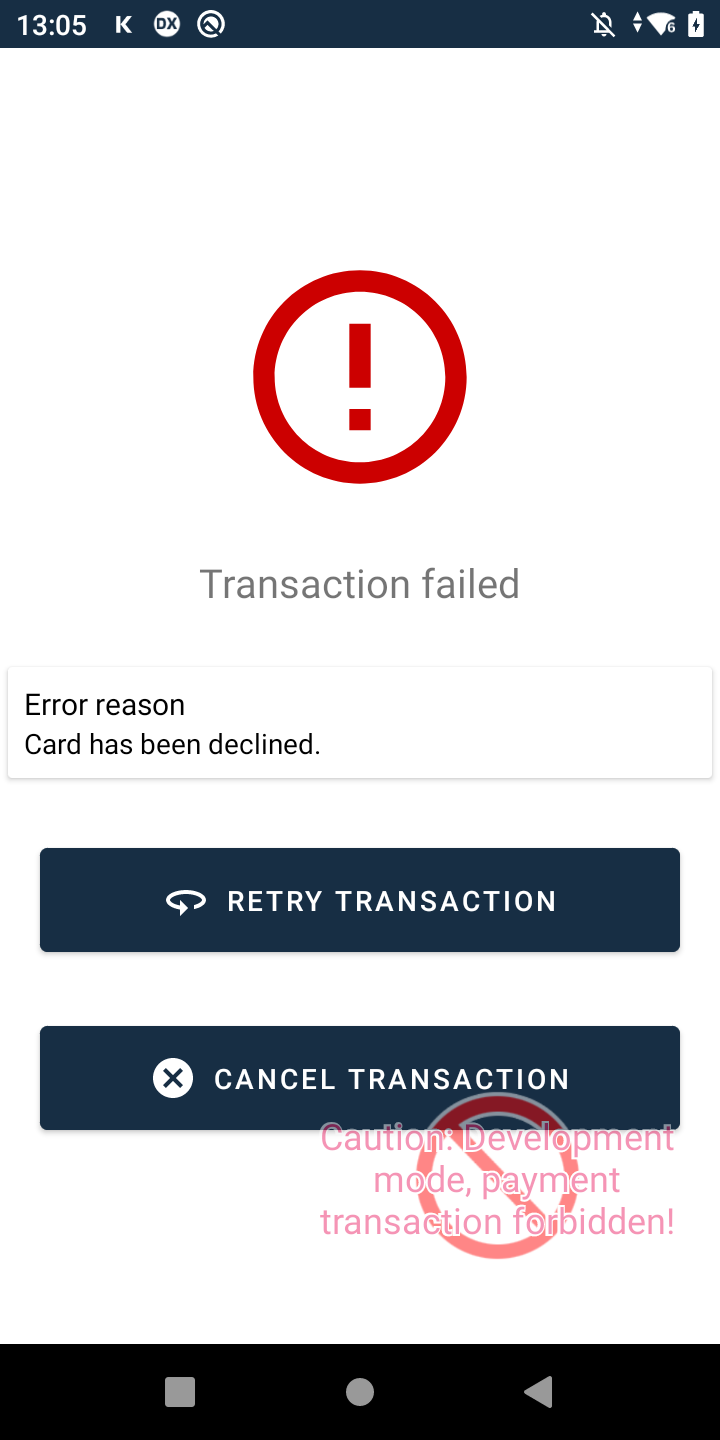
Transaction failure
Updated about 1 year ago